Air Fryer Cooking Times All Wrong? Here’s How to Fix It
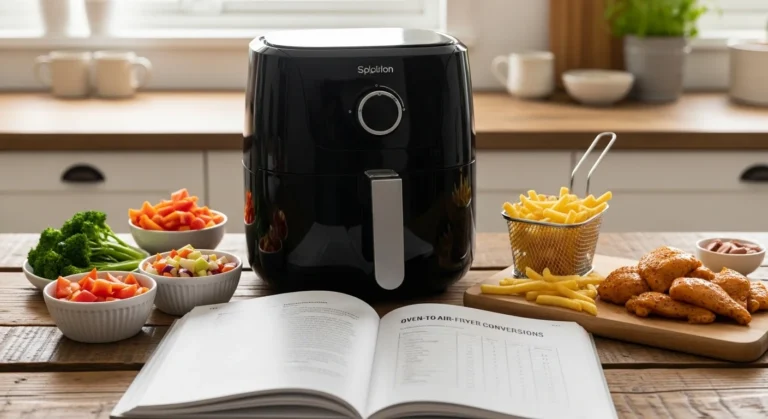
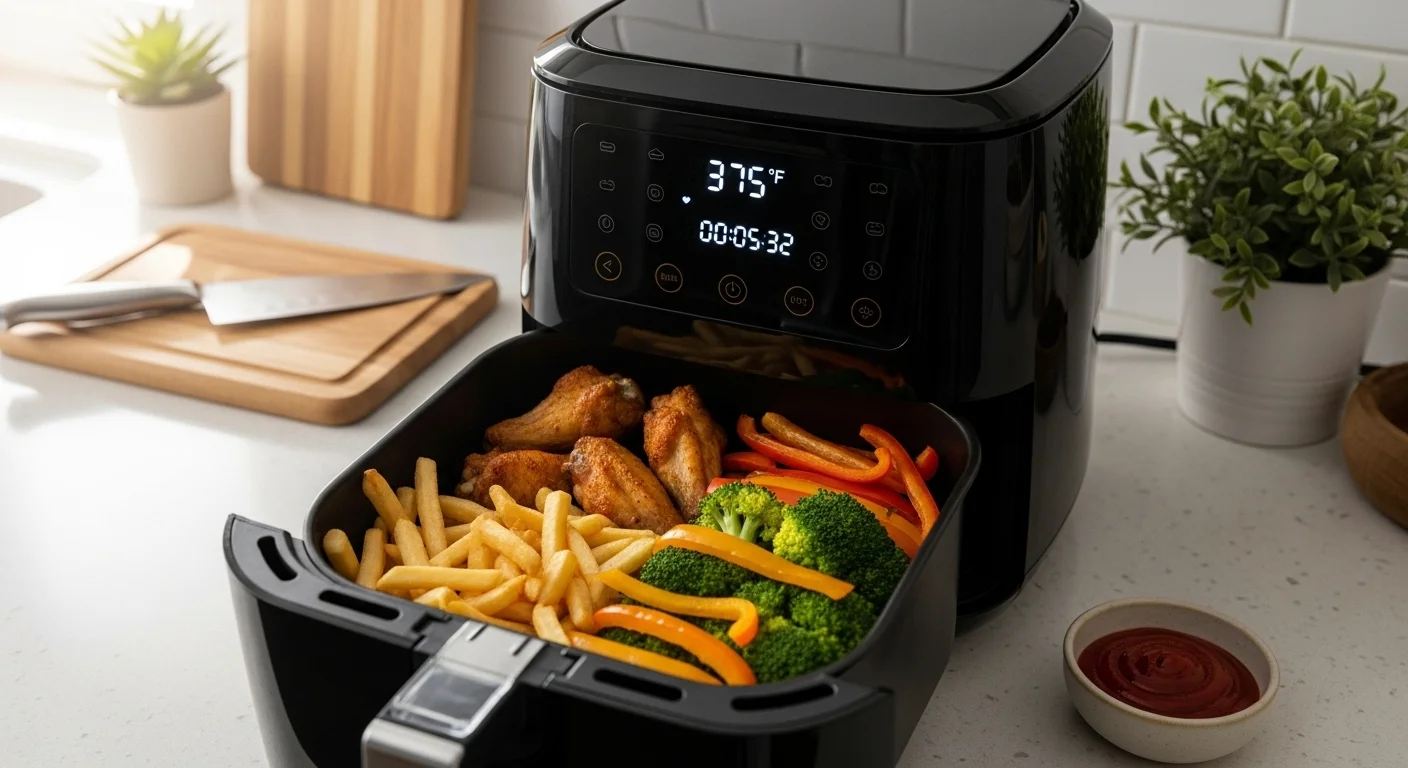
Air fryers use hot air circulation to cook food, but variations in models and usage can cause cooking times to differ from recipes. This guide outlines common issues, adjustments, and reference data to help achieve consistent results.
Common Reasons Cooking Times Are Off
Several factors can lead to longer or shorter cooking times than expected. Understanding these helps in troubleshooting.
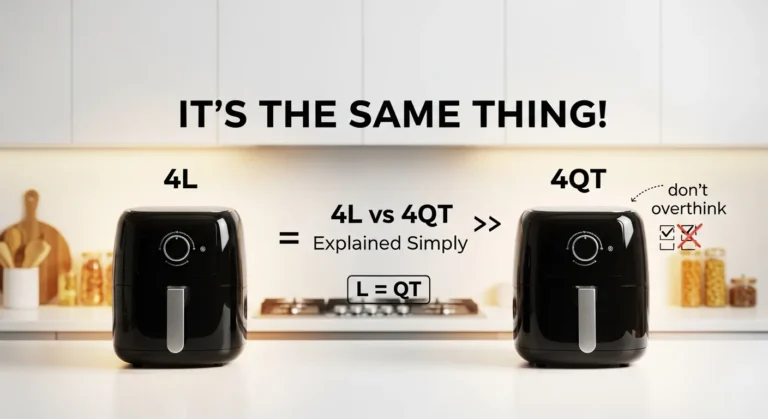
Differences in Air Fryer Models and Sizes
Air fryers vary by wattage, capacity, and design, affecting how quickly they reach and maintain temperature. Smaller units may cook faster due to quicker heat buildup.
Overcrowding the Basket
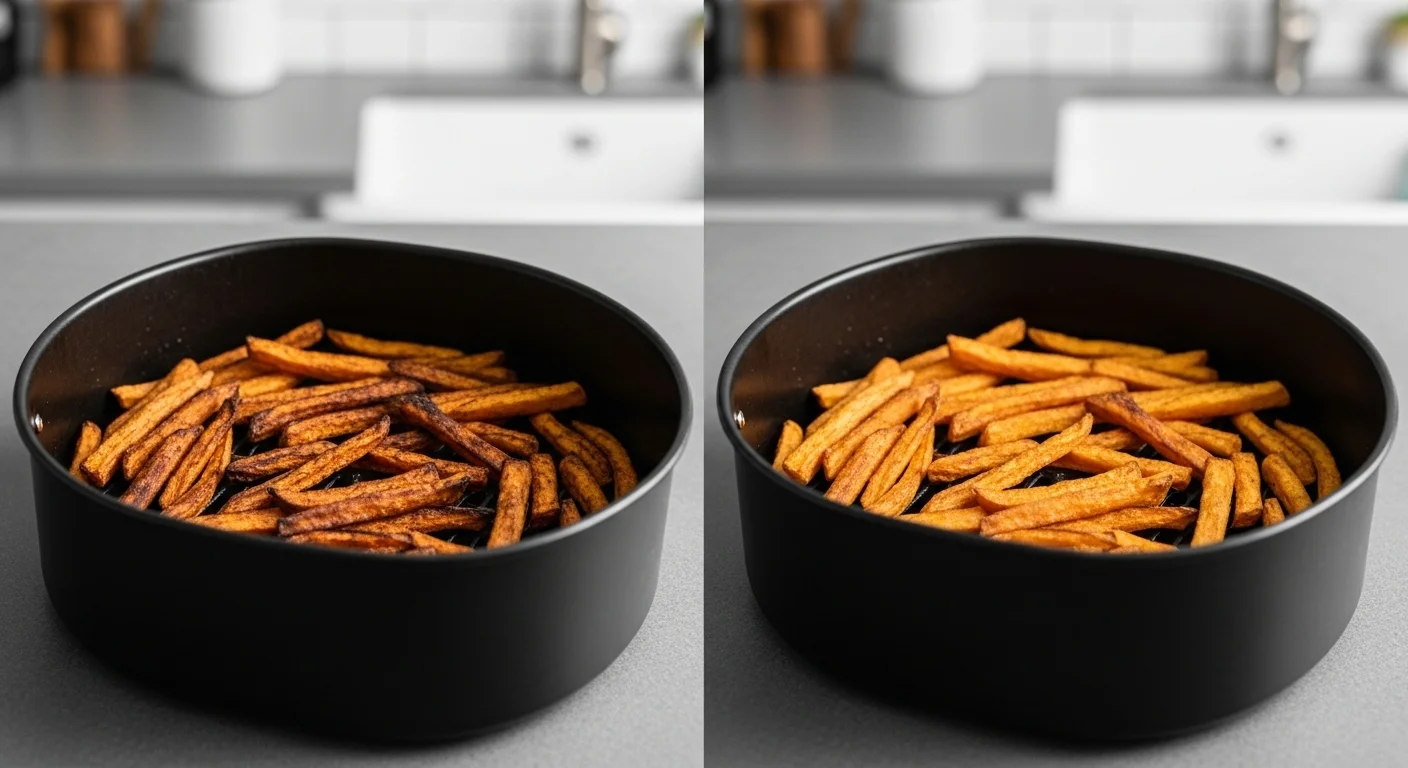
Filling the basket too full blocks airflow, causing uneven heating and extended cooking times. Food in the center may remain undercooked while edges overbrown.
Skipping the Preheat Step
Without preheating, food starts cooking in cooler air, leading to steaming rather than crisping, which adds time.
Not Shaking or Flipping Food
Items that aren’t moved during cooking receive uneven heat exposure, resulting in inconsistent doneness and potential need for extra time.
Incorrect Temperature or Oil Amounts
Setting the wrong temperature or using too little oil can slow crisping, while excess oil may cause sogginess and longer cook times. Fresh versus frozen food also requires adjustments, as frozen items need more time.
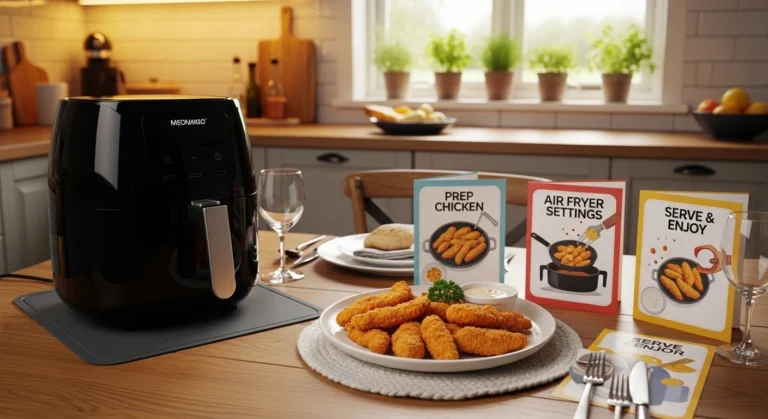
Step-by-Step Guide to Fixing Cooking Times
Follow these steps to calibrate your air fryer for accurate results.
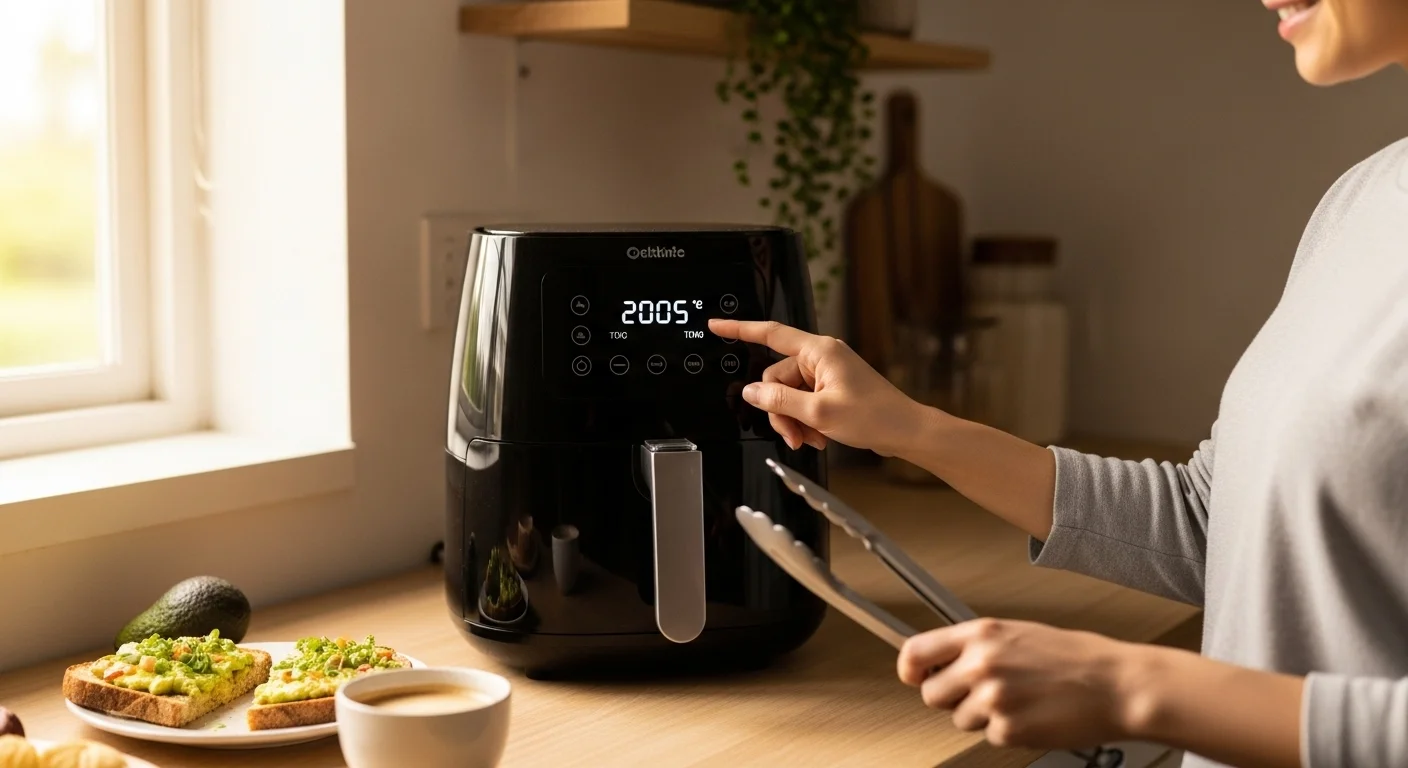
- Preheat the Unit: Turn on the air fryer and set it to the recipe temperature for 3-5 minutes. This ensures even cooking from the start.
- Prepare Food Properly: Pat items dry to remove moisture, which prevents steaming. Use a light oil coating (about 1/2 teaspoon per batch) for crispiness without excess.
- Load the Basket Correctly: Arrange food in a single layer with space between pieces. Cook in batches if needed to maintain airflow.
- Monitor and Adjust During Cooking: Shake the basket or flip food halfway through. Start with the lower end of suggested times and check doneness to avoid overcooking.
- Test and Note Adjustments: For your model, track times for favorite recipes. Reduce by 20% for smaller fryers or increase for larger loads.
Practical Tips for Consistent Results
- Place the air fryer on a stable surface with at least 5 inches of clearance on all sides for proper ventilation.
- Clean the basket after each use to prevent buildup that affects heat distribution.
- Cut vegetables to uniform sizes (at least 1/4-inch thick) to ensure even cooking.
- For batters, use dry breading methods to avoid drips and maintain set times.
- Skip oil on frozen, pre-coated foods to follow package times accurately.
Air Fryer Cooking Times Reference Chart
Use this chart as a starting point. Times are approximate and may vary by model; always check internal temperatures for safety (e.g., chicken at 165°F).
| Category | Food | Temperature | Time |
|---|---|---|---|
| Meat & Seafood | Bacon | 400°F | 5-10 minutes |
| Meat & Seafood | Chicken Breast | 375°F | 22-23 minutes |
| Meat & Seafood | Chicken Thighs | 400°F | 25 minutes |
| Meat & Seafood | Chicken Wings | 375°F | 10-12 minutes |
| Meat & Seafood | Pork Chops | 375°F | 12-15 minutes |
| Meat & Seafood | Salmon | 400°F | 5-7 minutes |
| Meat & Seafood | Steak | 400°F | 7-14 minutes |
| Vegetables | Asparagus | 375°F | 4-6 minutes |
| Vegetables | Broccoli | 400°F | 8-10 minutes |
| Vegetables | Brussels Sprouts | 350°F | 15-18 minutes |
| Vegetables | Carrots | 375°F | 15-25 minutes |
| Vegetables | Sweet Potatoes (cubed) | 375°F | 15-20 minutes |
| Fried Foods | Fries | 400°F | 10-20 minutes |
| Frozen Foods | Corn Dogs | 400°F | 8 minutes |
| Frozen Foods | Tater Tots | 400°F | 12-15 minutes |
| Bakes & Breads | Cookies | 325°F | 8-10 minutes |
Source: Adapted from general air fryer guidelines. Flip halfway for even results where noted.
Explore More Tips & How-To Guides
Check our collection of practical tips and step-by-step guides designed to make your life easier. Whether you’re looking to master new skills or find clever solutions, we’ve got you covered.
Browse All Tips & How-To Guides